Do you want to be a blogger but don’t know where to begin? Are you wondering how to start a blog and make money online? If yes, this detailed blogging guide is just for you!
Honestly, anybody can start blogging and make a successful career out of it. In this article, we’ll cover how you can set up a blog and monetize it for making a regular income.
Let’s begin.
How to start a blog
Starting a blog involves thinking from your readers’ point of view. Create a well-designed, feature-rich blog that is easy to use for the end user. It will benefit both independent bloggers and businesses.
You also need to be clear about your blogging goals. Most people start a blog with the following aims:
- Sharing their knowledge
- Creating a personal brand
- Grow an existing business
- Making money and developing a passive income stream
If you too have one such goal, keeping it in mind will help you remain consistent and achieve it sooner.
Without any further delay, let’s dive into the step-by-step process of building a blog from scratch. This blogging guide will be helpful for everyone, including non-technical people who know nothing about blogging or the website world.
Check out the steps to start a blog below:
Step 1: Choose the Blogging Platform
The very first requirement of creating a blog is having a blogging platform. It is a software that allows building your blog and publishing posts. For instance, WordPress, Squarespace, Wix, and Blogger.
Some of the above blogging platforms are free, some are paid, and some offer a mix of both. However, the best and most popular choice of most successful bloggers is WordPress. It is extremely easy and highly compatible with third-party apps, making it a good option for beginners and advanced users alike.

Step 2: Pick a niche for your blog
The next major step is choosing a niche or topic for your blog. Picking a niche is important because Google prefers authority websites, the ones that revolve around a single topic. Also, people incline towards subscribing to niche blogs rather than general ones.
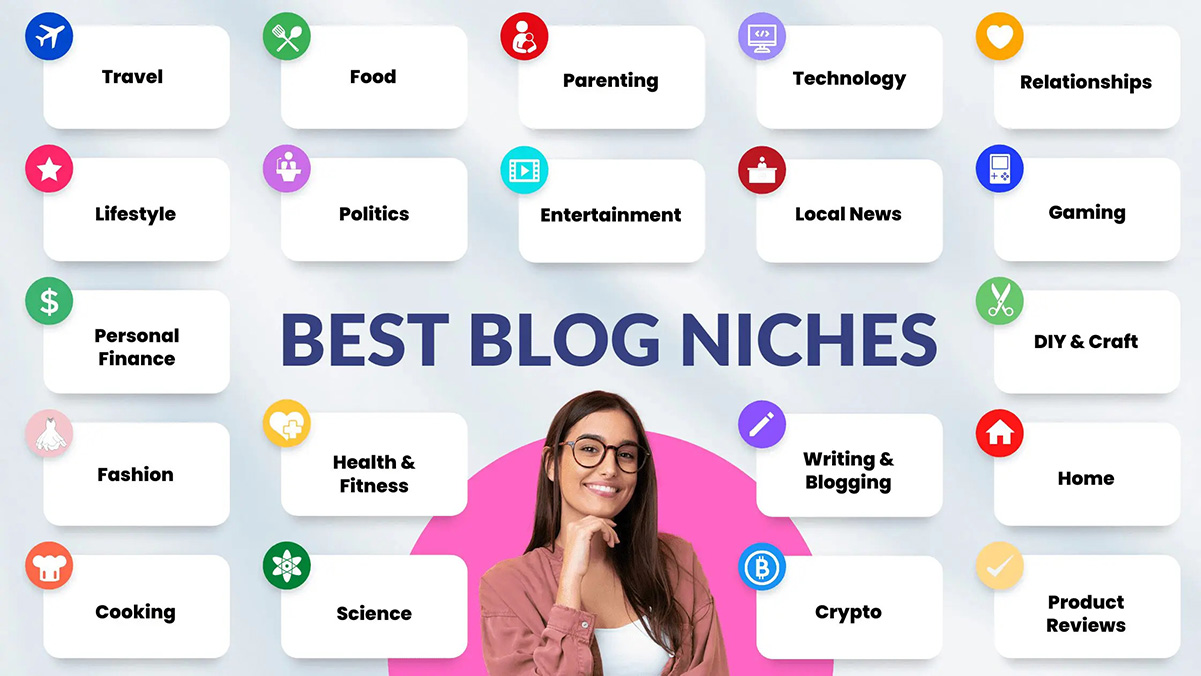
We recommend choosing a topic about which you have good knowledge and are passionate enough to keep you going. Additionally, it must be a part of the growing trend or industry. Picking a profitable niche even in affiliate marketing is very important for long-term success.
Consider these factors when choosing a blog niche:
- Passion & Knowledge: Begin with exploring your interests and expertise. Selecting a niche you are truly passionate about will always keep you motivated. Also, your knowledge and expertise will come in handy in creating valuable content for your blog.
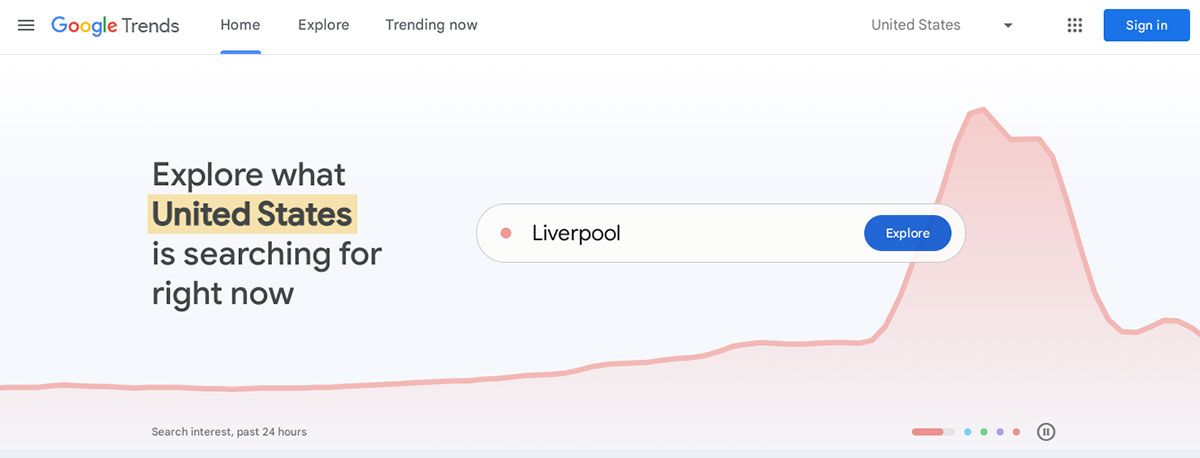
- Market Research: Analyze all potential blog niches for profitability, demand, and competition to gauge market viability. Some useful tools like KWFinder, Google Trends, and Ahrefs allow you to check out the growing trends, perform keyword research and carry out competitor analysis.
- Affiliate Programs: Research affiliate programs associated with all the niches you’ve shortlisted. You need to check for product quality, reliability of link tracking, and availability of high commission rates.
- Target Audience: Your blog needs to satisfy the needs of your target audience. So identify all the pain points of your audience within the selected niche. It will help you understand what they are looking for and tailor your blog content accordingly.
- Monetization Options: Check for the availability of multiple monetization options in your shortlisted niche like affiliate marketing, advertising revenue, and digital products.
- Longevity & Trends: Choose a sustainable niche for establishing a long-term business. Avoid going for those trending topics that might fade quickly and choose an evergreen one with consistent demand.
- Test & Iterate: Always start small, test your strategies, and measure the results you achieve. Keep doing what works and scrap the strategies that don’t.
- Legal & Ethical Compliance: Doing business legally is important to stay away from any troubles. Ensure that your selected niche aligns well with ethical and legal standards.
Step 3: Find a domain name & blog name
A domain name is the blog URL, the one that appears in the address bar of a browser. It is the name with which your visitors identify your blog.
Here are some tips for picking the right domain name for your blog:
- Choose a name that is easy to remember, type, and pronounce.
- Your blog name must be easily brandable.
- The name or its spellings should not be confusing to a listener who hears it for the first time from any source.
- Select a short domain name with up to 12 characters maximum.
Typically, a domain name will cost you about $10 to $15 but you can save this cost. Many companies like Bluehost offer free domain names with hosting. Since you anyway need these hosting services for your blog (discussing them in the next step), grabbing a free blog name is a wise choice.
Step 4: Set up your web hosting account
Every blog needs web hosting to appear online. You need a hosting account because it is the one where all your website data will be created and stored. It allows you to install WordPress, create a blog design, upload blog content, and publish your blog for the world to see.
Though there are many hosting providers, we recommend Bluehost to beginners because of the following benefits:
- You’ll get a free domain name, resulting in initial cost savings.
- Bluehost supports a 1-click WordPress installation that makes it quick and easy for you to start a blog.
- The host offers some of the most affordable hosting plans which again helps in saving money in the beginning.
- Bluehost is a beginner-friendly option with its intuitive interface which is easily understandable for newbies.
To top it off, Bluehost is also the official and 1st Hosting Recommendation from WordPress.org.
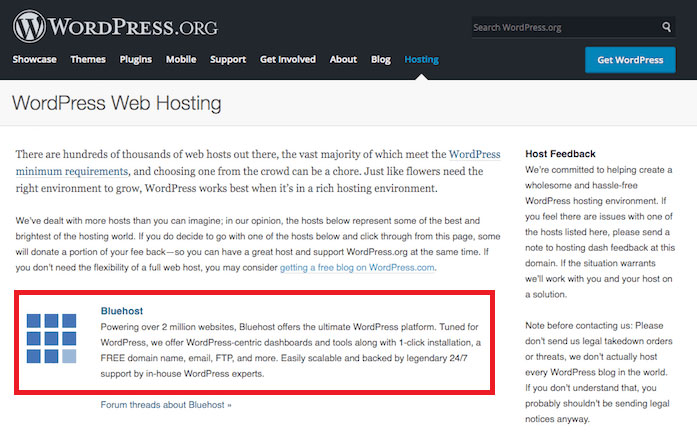
So you can fully trust the host to deliver excellent hosting services for your blog. Here’s how to set up a Bluehost account and purchase a hosting plan:
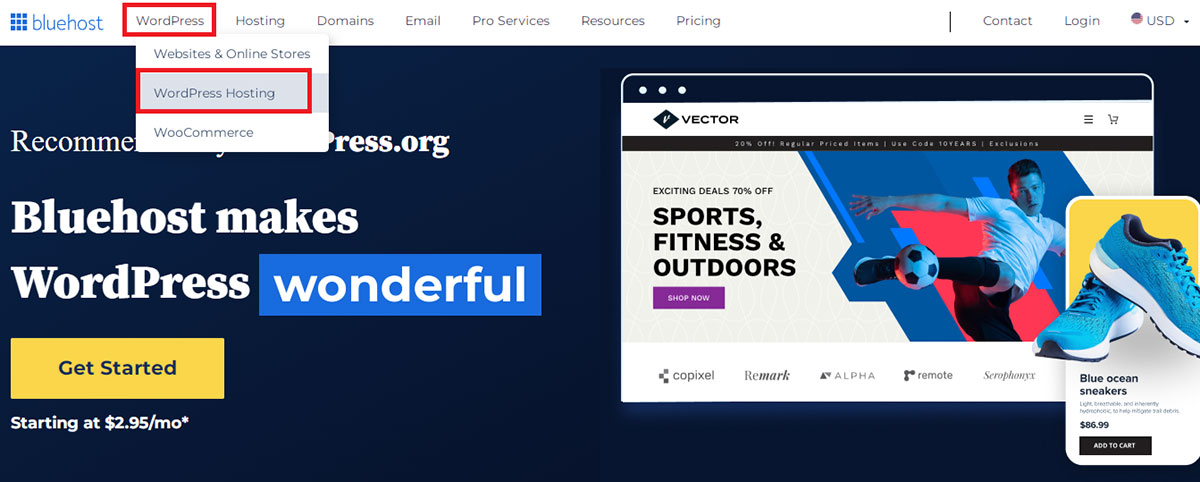
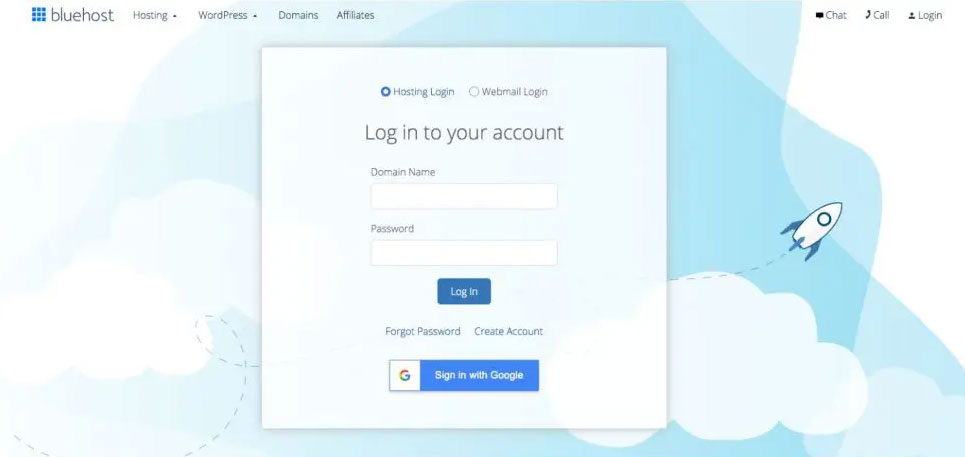
Visit Bluehost Homepage
Visit the homepage of the Bluehost website and click on the “WordPress Hosting” tab by hovering over the “WordPress” button.
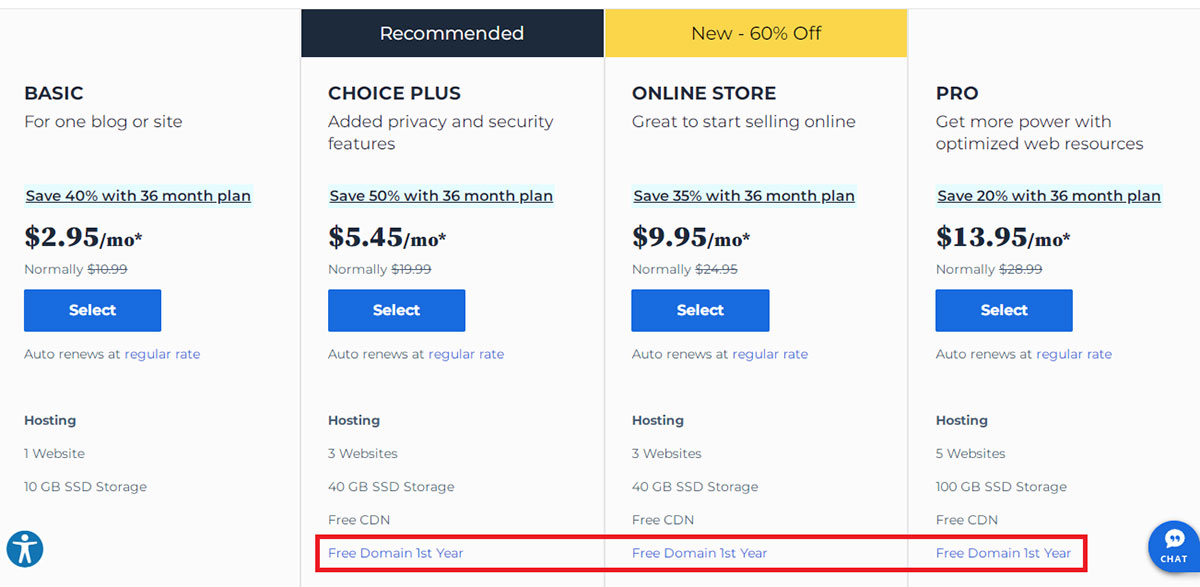
Choose a hosting plan
Select the “Choice Plus” WordPress hosting plan as it includes free security features, domain name, and Content Delivery Network (CDN) for a faster blog.
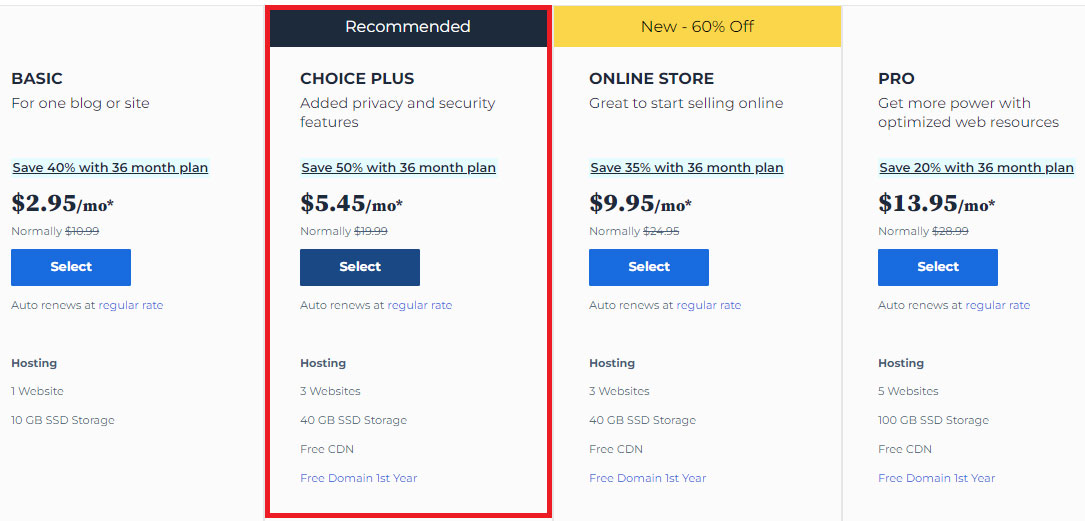
You can also go with the “Basic” plan if you are very tight on budget but then you’ll have to pay for the blog name separately. So do compare the total cost you’ll be bearing before choosing the Bluehost plan.
Creating a domain
The next page asks you to create a domain name for your blog.
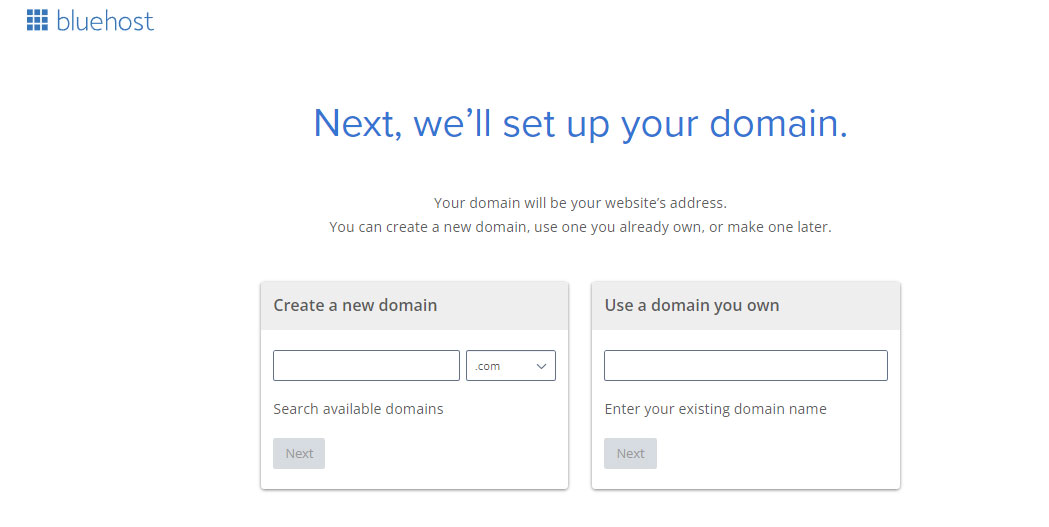
Create a domain name with a .com extension.
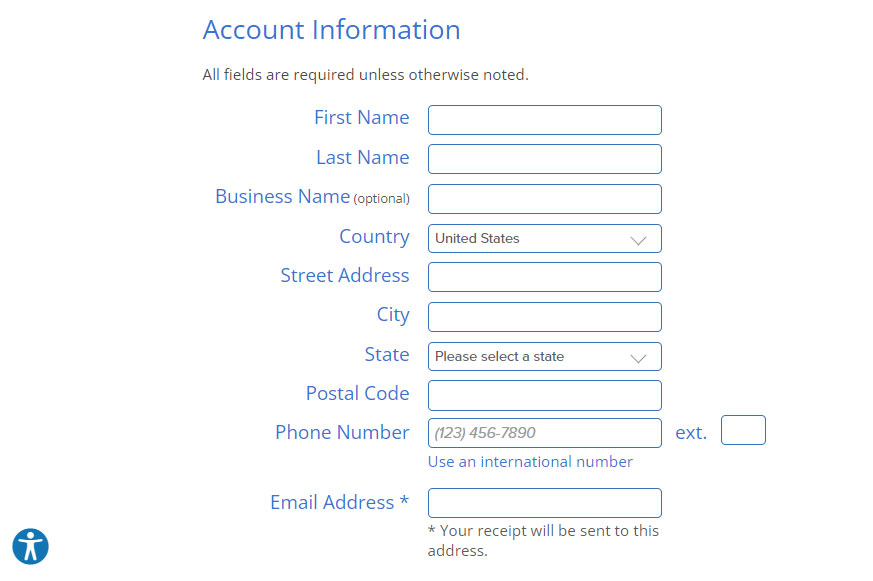
Bluehost account creation
On clicking next, the host will present you with an account creation page. Fill out your details like name, address, and phone number.
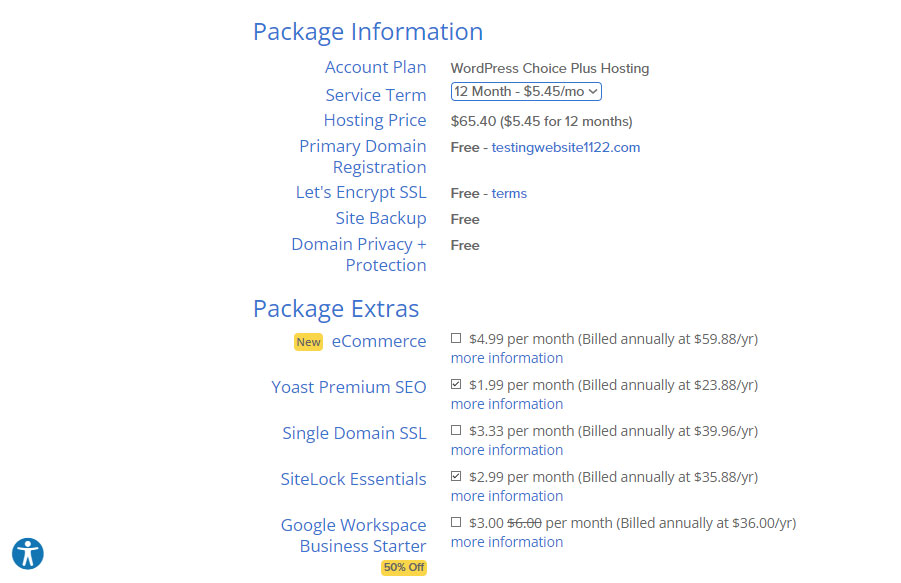
Selecting the hosting plan
The same page also allows you to select a hosting package and extra features you might require for your blog. Check the pre-filled information before you move on to the next step.
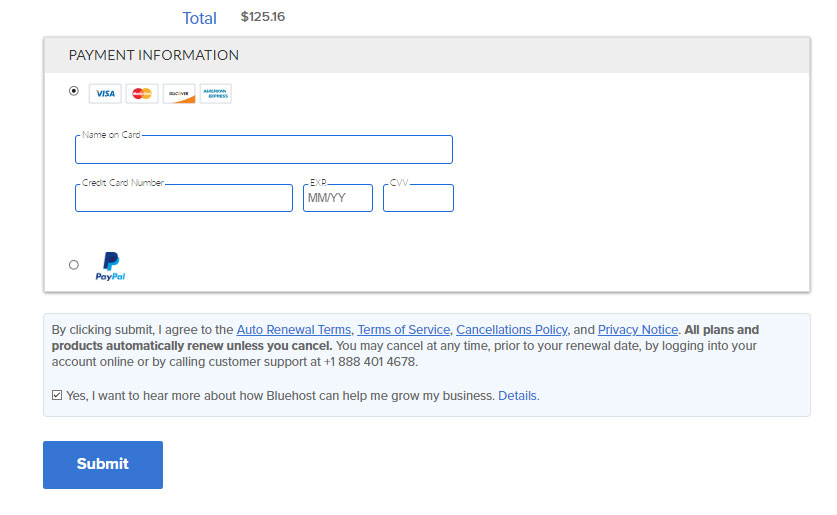
Making payment
On scrolling the same page, you’ll find the total payable amount. Fill out your payment information and agree to the Bluehost terms and conditions to finish the setup process.
Whether you’d like to pay by Credit card or through PayPal, this host supports both of them.
Checkout completion notice
On form submission, Bluehost will display an account setup notice confirming the successful completion of the process.

That’s it! You just set up a web hosting account for your blog.
Step 5: Install WordPress on the blog
Now that you have a Bluehost account, a domain name, and a hosting plan, let’s install WordPress to start a blog.
Though Bluehost offers a premium service where its pros install WordPress on your account, we suggest you do it yourself as it is an extremely easy process. Follow the steps below for WP installation to save money on the pro service:
1. Start Blog Creation
Bluehost presents you with a website creation page where you need to add your blog’s name and tagline. Don’t forget to toggle the button against “Do you want a blog?”

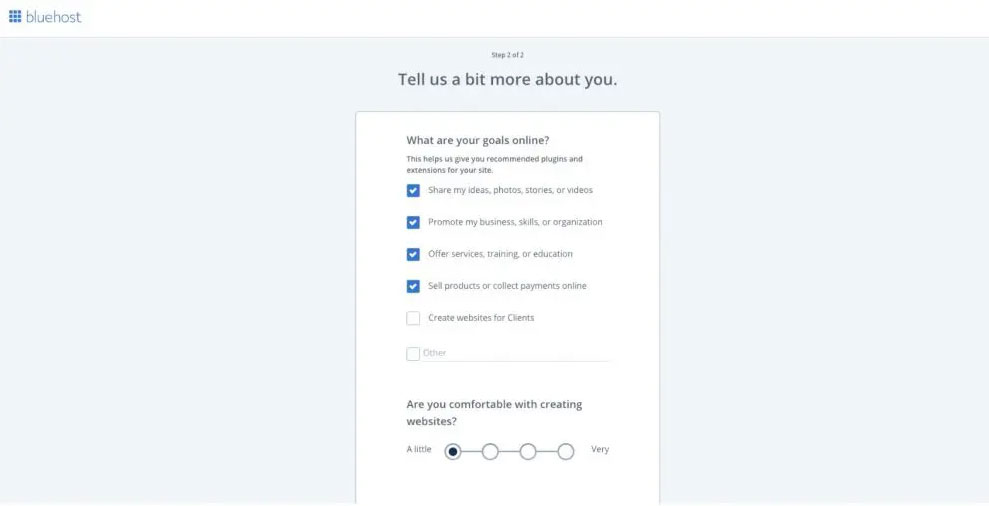
2. Pick Your Online Goals
On the next page, Bluehost asks you about your online goals. Check the relevant boxes, especially the first, third, and fourth ones for blogging. If you are creating a blog to promote your business or service, check the second one too. Also, click closest to “a little” where it asks about your comfort in creating websites.
3. Skip Theme Installation
The next page asks you for theme installation which you can skip for now and proceed with WordPress installation. We’ll install it from our dashboard in the next step.
After installing WordPress on your account, Bluehost shows you a completion message like this:
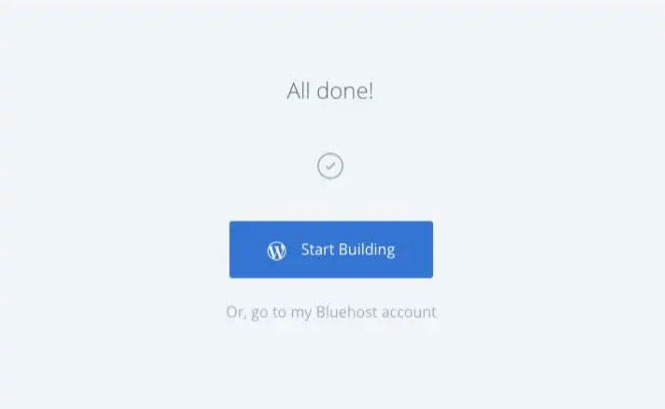
Congratulations! You’ve successfully created a WordPress blog for yourself now. Click on “Start Building” to enter the Bluehost dashboard and log into WordPress here.
Step 6: Change Your Blog’s Design (Theme)
It’s time to choose a theme/design for your blog now. The options are plenty here but we recommend using the GeneratePress theme. It is fast, lightweight, and pretty good for new bloggers as it is highly customizable.
You can easily install GeneratePress on your blog by following the steps below:
-
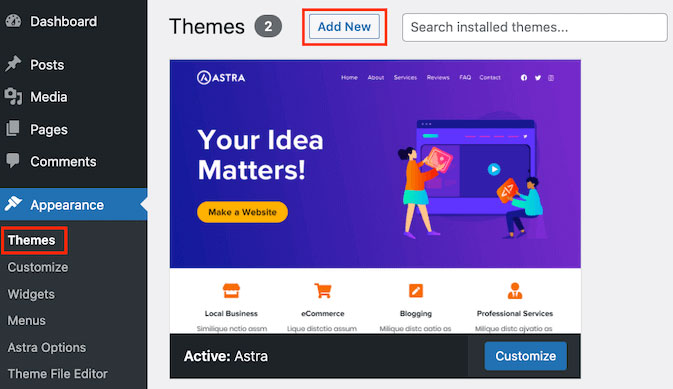
- Click on “Themes” under the “Appearance” tab. Then, click the “Add New” button on the top.
-
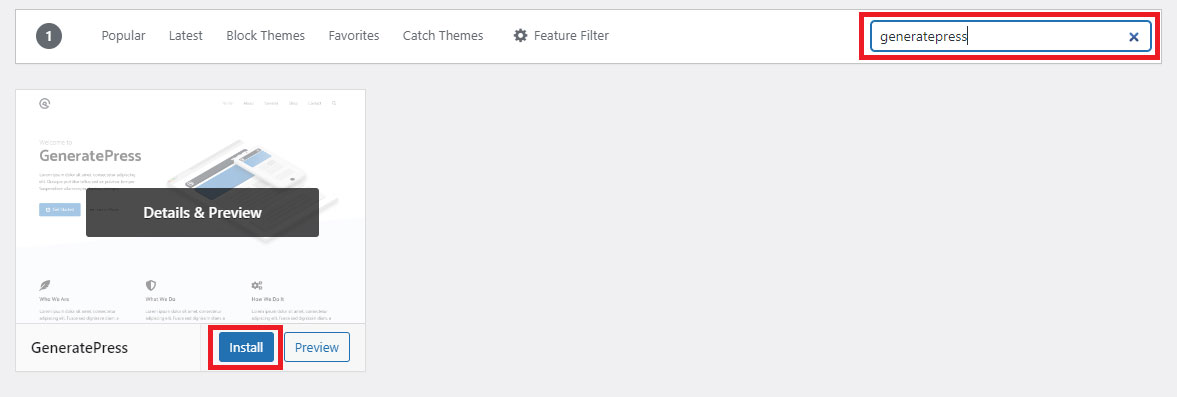
- Search for GeneratePress in the search bar and click on “Install” when the theme appears in the results.
-
- Once the theme gets installed, click on the “Activate” button to use it for your WordPress blog.

You have now successfully designed your blog with the GeneratePress theme.
Step 7: Install the best WordPress plugins
WordPress plugins are used for extending its functionalities and adding new features to your blog.
There are hundreds of WordPress plugins out there, but we recommend installing only the necessary ones for beginners:
Rank Math
It is a Search Engine Optimization (SEO) plugin for WordPress users. SEO helps your blog rank better in search engine results. So Rank Math will bring more traffic to your blog by automating the SEO functions.
![]()
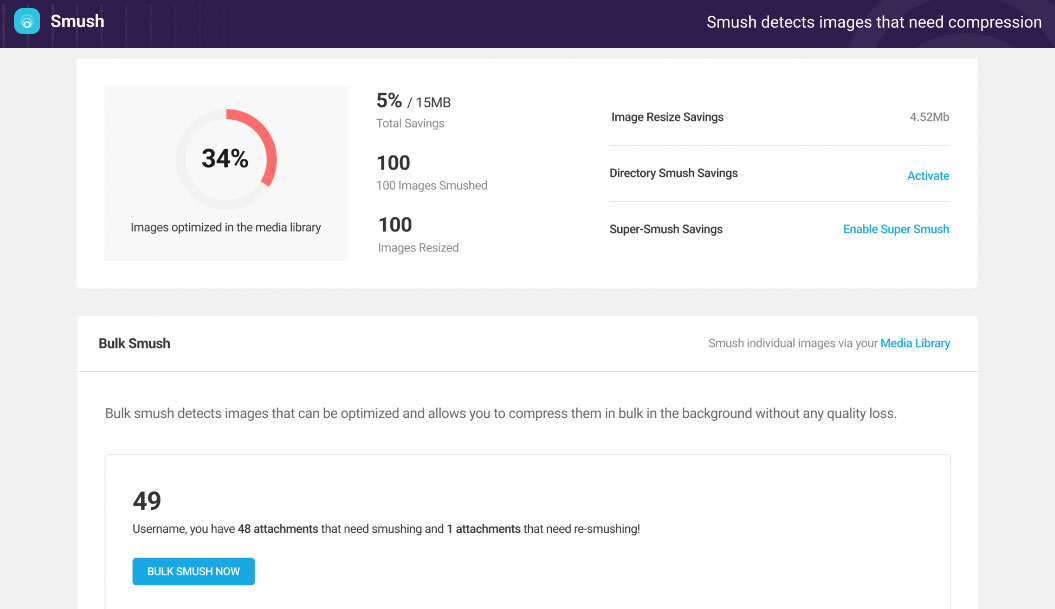
Smush
It is an image optimization plugin to resize and compress all the images you upload to your WordPress blog. An image compressor like Smush helps you improve your page speed drastically.
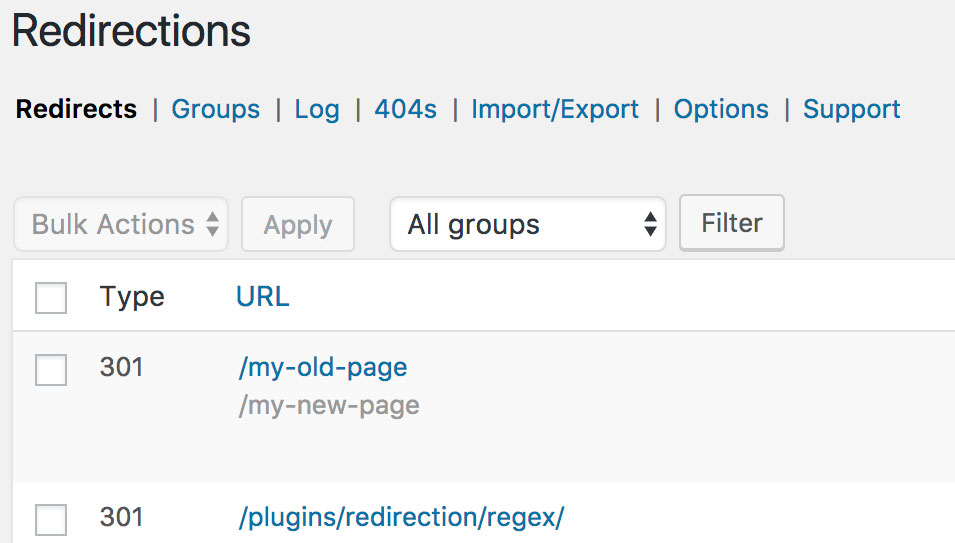
Redirection
This WordPress plugin helps in managing your redirects i.e. when you point your blog visitors to other websites.
Redirection comes in handy for cloaking your affiliate links and tracking them easily.
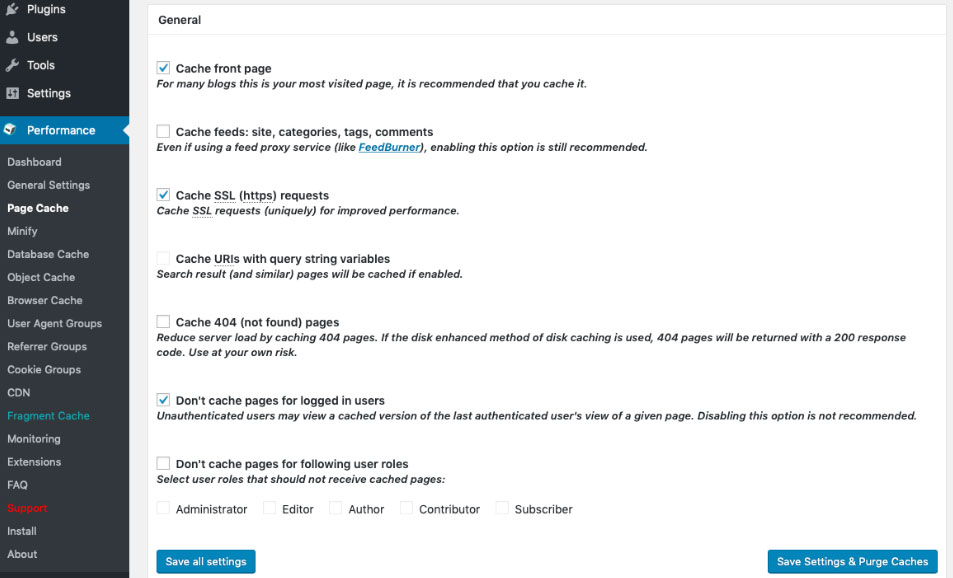
W3 Total Cache
It is a caching plugin for WordPress users. Caching is a technique used to improve a blog’s performance and speed. So W3 Total Cache speeds up your blog, thereby helping bring in more visitors and increased conversions.
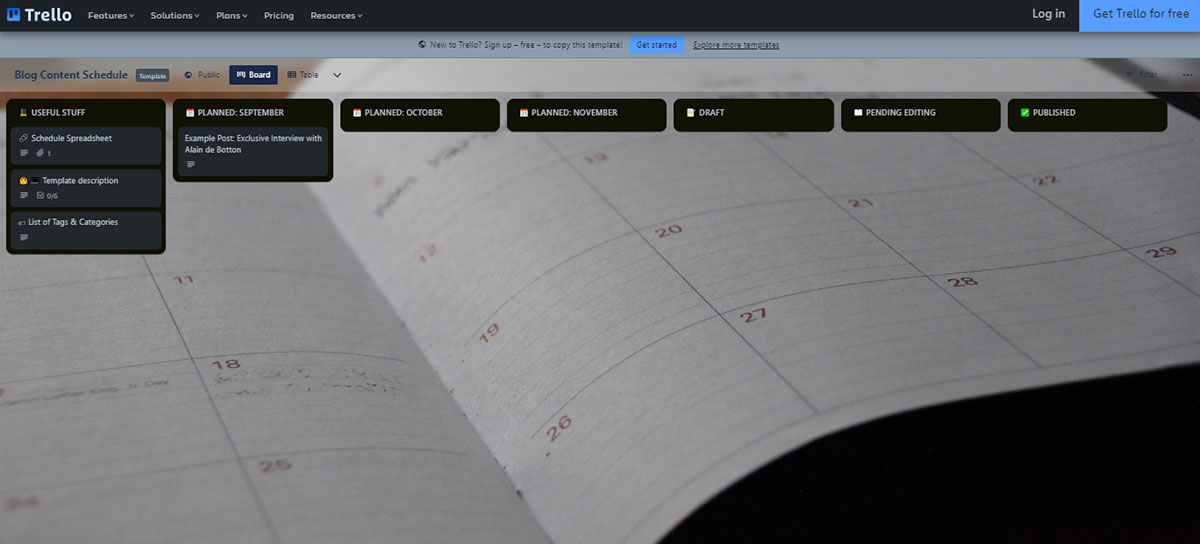
Step 8: Plan your content
Content planning is a crucial step before you start writing blog posts. Consider using an Excel sheet or a Trello board to plan your blog content.
List out a few articles you can write and create an outline for each. Try to plan content for a full month in one sitting. Then, you can easily work on writing these blog posts in your subsequent sittings.
Step 9: Write your first blog post
Finally, you are ready to write your first blog post! Feel free to write your heart out while following the outline you created in the step above. Also, follow the tips below to write a good blog post:
- Imagine that you are talking to a friend and sharing your views. Use a conversational style and keep your writing tone friendly.
- Use easy words and simple language so that everyone can understand what you’re saying.
- Since your blog visitor will be reading your post alone from his device, address your blog readers as “you” instead of “you all”.
- Try writing long posts with over 1000 words that cover all aspects of the topic you are writing about.
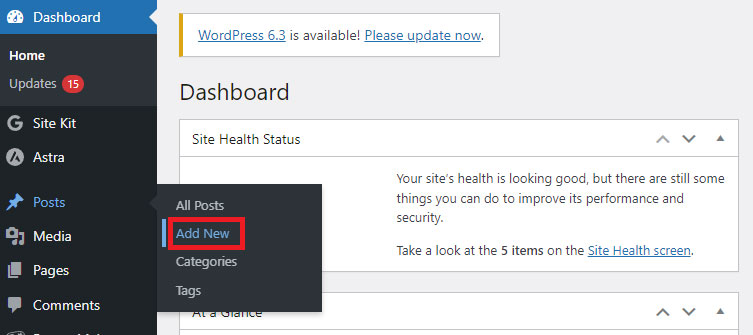
Here’s how to add your first blog when you finish writing:
- Click on “Add New” under the “Posts” tab
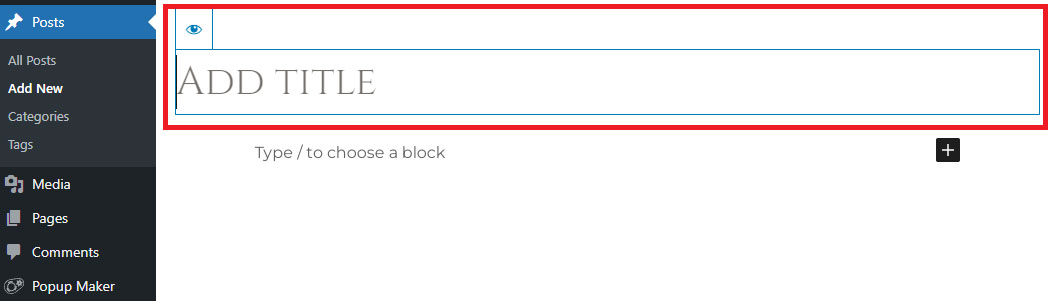
The next page appearing is the WordPress blog editor page. Since you’re creating a post for the first time, you’ll see a popup sharing details about it. Here’s your chance to know about the blog editor.
- Once you read the popup, enter a title for your blog post in the “Add Title” field.
- Since you’ve already finished writing your first post, copy it in the field below the title.
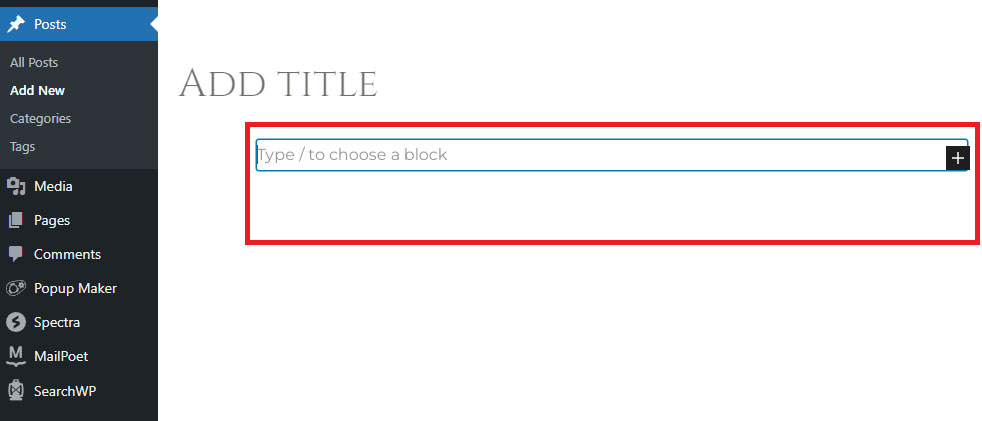
You’ll find multiple formatting options under this field. Try them out to create a well-organized post for your blog.
Step 10: Add legal pages on your blog
It is important to add a few pages to your blog to avoid any legal issues later. Create them for your blog as soon as possible:
- About page: It carries all the information related to you and your blog. Creating an “About page” is necessary to comply with Google guidelines, and demonstrate trustworthiness, and true expertise behind a blog.
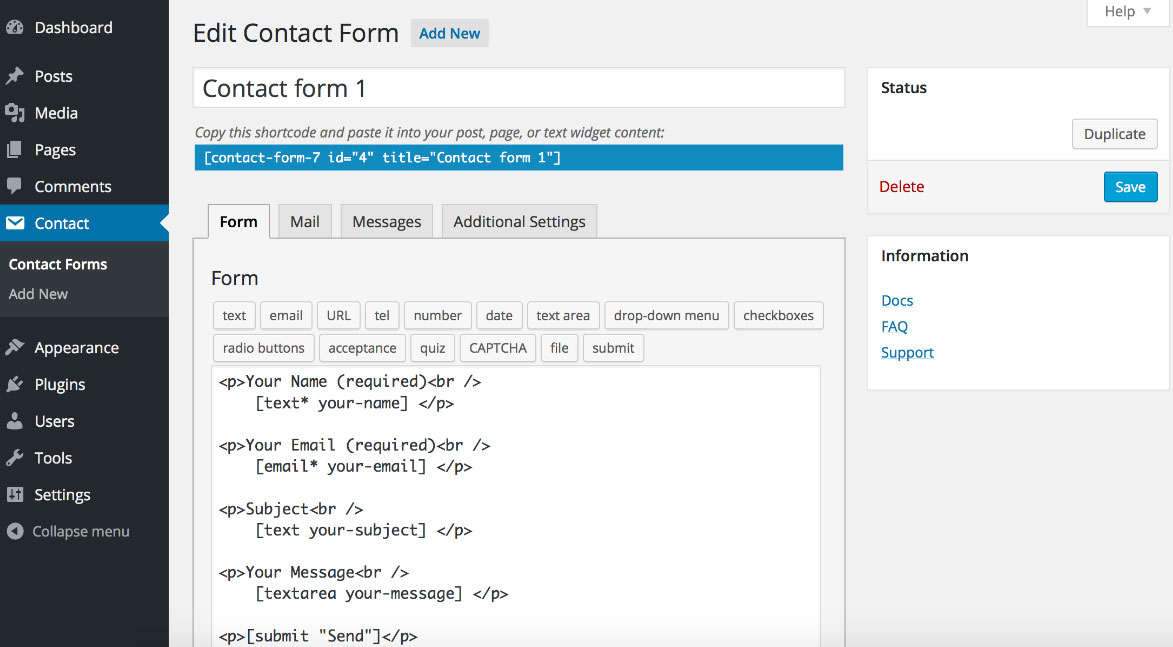
- Contact page: It contains a contact form that allows your blog visitors to get in touch with you. You can easily build one for your blog using the free WordPress plugin Contact Form 7.
- Privacy policy page: This page needs to disclose the information you collect through your blog. You will find a generic privacy policy template in your dashboard. You can either choose to edit it or start with a fresh one.
- Disclaimer page: Since you’ll be monetizing your blog through affiliate programs, it is a legal requirement to disclose this. Your disclaimer page brings transparency by communicating this important detail to your visitors.
- Terms and conditions: It contains rules and conditions to browse, read, and otherwise interact with your blog. Your visitors agree to them automatically by using your blog.
Step 11: Drive traffic to your blog
Now that your first blog post is live, it is time to bring in lots of visitors to your blog. Driving more traffic means making more money by growing your business, selling more eBooks, landing new clients, and so on.
There are multiple ways, both free and paid, to promote your blog. However, you must not spend money and try only free promotional methods initially.
Here are some of the best and simplest techniques to drive traffic to your blog:
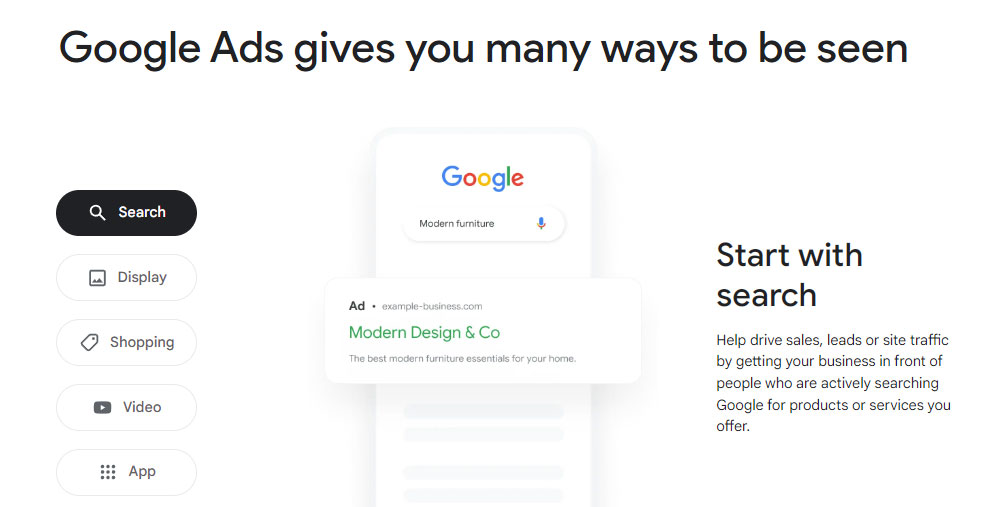
- SEO: Perform on-page and off-page SEO to rank higher in search results.
- Paid traffic: Use popular paid traffic sources like Google Ads, Facebook Ads, Quora Ads, and Reddit Ads to target the right blog audience.
- Email marketing: Once some visitors start pouring in with the above methods, convert visitors into subscribers via email marketing. It will help you bring them back to your blog every time you post a new article.
Step 12: Monetize your blog
When you start receiving a decent amount of visitors to your blog, it is time to monetize it. Here we are sharing some of the most profitable ways to earn money as a blogger:
Affiliate Marketing
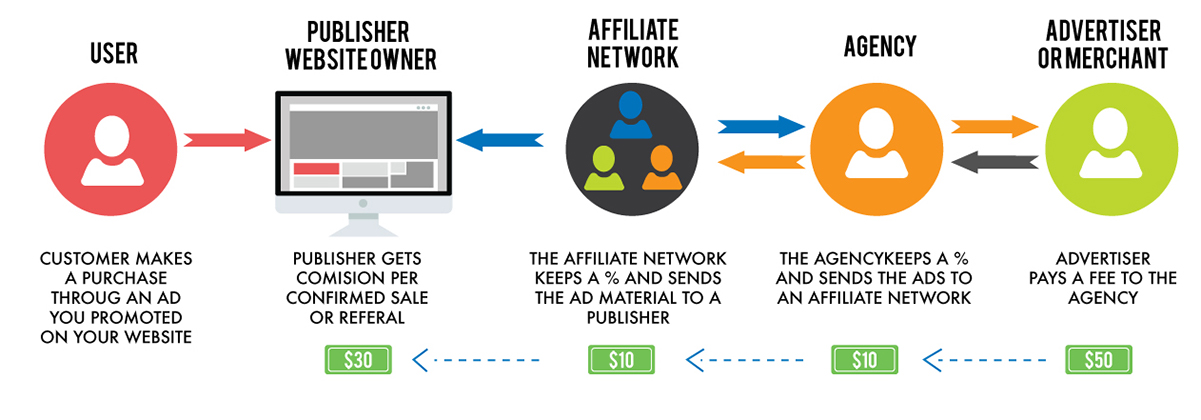
In this method, you promote someone else’s product on your blog and earn a commission from every sale. You’ll receive a unique affiliate link to track all sales made via your blog. It is one of the easiest ways to monetize your new blog in any niche.
Advertising

Advertising on a blog is the most simple method to make money from blogging. An ad network places a few ads on your blog and pays you according to the ad views. So you’ll automatically make more money by bringing in more traffic to your blog.
Here are a few reliable ad networks for your blog:
- Mediavine
- Monumetric
- Google AdSense
- Ezoic (it works well for new blogs with low traffic)
Digital Products

These are the products that do not require any physical delivery. Instead, you can deliver them online like you send a file attachment with emails. You can create online courses or eBooks related to your blogging niche and charge money for each download.
Sponsored posts

In this monetization method, brands pay you money for writing a blog post about them. You can go for a sponsored social media post or a sponsored blog post or both.
It is easy to find sponsors in fashion, lifestyle, beauty, cooking, travel, and parenting niches. There are sponsor opportunities in other blogging niches too, but you’ll have to make more effort to find them.
Direct Ad Sales
Direct advertising involves selling ad space on your blog directly to advertisers without using any ad network. Here you’ll be negotiating with advertisers and executing ad deals yourself. It is the least-used monetization technique.
Conclusion
Starting a blog involves a few steps that you’ll be performing only for the first time like picking a niche or setting up a Bluehost account. However, on other steps, you need to work consistently to generate regular income from your blog like driving traffic or monetization.
If you’ve followed our steps above and your blog is ready now, share your experience with us in the comment section. We’d love to know about your blogging journey!
You gave me a very useful tips on how to start my blogg. Thank you
I can’t wait to have my own blogging website for my new brand products
Awesome James, that’s the spirit 🙂
Start with whatever you got, it doesn’t need to be perfect but the most important thing is to START 😉
This is great
Thank you 🙂 I’m glad you liked it.